How To Color Candle Wax: Food Coloring, Crayons, or Mica?
Candles are fun and easy to make at home.
But coloring the wax can be tricky.
There are different ways to color wax.
The most common question is if you can use food coloring, crayons, or mica powder to color you candles.
Let’s look at all of these options and see which way works the best.
Can you use food coloring for candles?
Liquid food coloring is not appropriate for dyeing candle wax. This is because food coloring is water-based and does not mix well with molten candle wax. As a result, you food coloring will quickly clump together and sink to the bottom.
Below you can see what a mixture of liquid food coloring and molten candle wax looks like.
Clearly, it’s not mixing very well.
Can you use crayons to color candles?
Crayons are not ideal for coloring candle wax because it leads to burning problems. This is a result of the big size of the pigment used in crayons that can clog the wick of the candle. If you want to use crayons, make sure to use only a very small amount.
Below you can find an example of a candle that was colored with crayons.
The color looks pretty vibrant and there are no obvious color pockets.
However, as soon as you light the candle you can see that the flame is very small.
This candle had a very hard time burning.
And after a few minutes it actually extinguished by itself.
To prevent your candle from extinguishing, make sure to only use a very small amounts of crayons.
Can you use mica powder for candles?
Mica powder can be used to color candle wax but do not give the best results. Mica powder is relatively heavy and might sink while the candle is cooling, resulting in a color gradient. Moreover, adding a large amount of mica can also lead to burning problems.
Below you can see a candle that was colored by using mica powder.
The top of the candle has a considerably lighter color than the bottom of the color.
This is a pretty interesting effect. And if you are looking for this you might give mica a try.
If you want a solid color, you should try using candle dye flakes.
As long as you don’t use too much mica, your candles probably won’t have any problem burning.
But be careful not to add too much mica since it might clog your wick.
How to color candles: the BEST way!
When you ask any professional how they color their candles, the answer will always be candle dye.
This type of dye is specifically made for coloring wax.
Which means it mixes evenly with the wax and doesn’t clog your wick.
Candle dye can come in 3 different forms:
- Liquid candle dye: highly concentrated and super easy to use. Great for making light pastel colors. Create new colors by mixing different liquid dyes.
- Candle dye blocks: can be used to achieve darker hues. Dye blocks take a while to completely dissolve in the wax.
- Candle dye flakes: similar to dye blocks but much thinner and dissolve faster.
Regardless of which type of dye you are using, the way to color candles remains the same.
So let’s take a look at how to color candles step by step:
1. Pick your favorite type of wax
Candles can be made out of different types of wax such as beeswax, soy wax, paraffin wax, etc. All of them have their own pros and cons, so you might want to read our article on different types of candle wax first.
Using new candle wax is the easiest and especially soy wax is popular among beginners.
But if you have any old candles you can also try to melt those and make new candles. This is especially great if the wick of your old candle already stopped working but there is still a fair amount of wax left.
However, you should be careful of scented candles since melting them at high temperatures might change the fragrance in an unpleasant way.
2. Melting the wax
There are 2 things you want to keep in mind when melting the wax.
First, you don’t want to apply heat directly because that might change the natural consistency of the wax. Instead, you can use a double boiler or place a glass mixing bowl inside a pan with hot water.
Secondly, you need to know what type of wax you are working with because different types melt at different temperatures. And you definitely don’t want to raise the temperature too high or you might burn the wax.
So slowly raise the temperature to around 180 degrees Fahrenheit (depending on your type of wax) and keep stirring till all the wax is completely molten.
3. Add the candle dye
Now you want to add the dye into the molten wax. There are different types of dye you can use and you can read about them later in this article.
Make sure to only add small amounts at once and then stir the wax for a while to mix in the color completely. Especially if you are using dye blocks it can take a while before they melt.
How much dye you need to add depends on the type of dye and type of wax you are using. You can find more on this later in the article.
If you got the color you wanted you want to take a piece of paper and drop a little bit of wax on it.
This is because the color of the molten wax and can change quite a lot when cooling down. So this is an easy way to check what your final candle will look like.
If the color of the dried wax looks too light you can try adding some more dye and try again. If the color is too dark you can also try to add extra wax to dilute the dye.
Tip: combine different dyes to make new colors
4. Cooling down the wax
You don’t want to pour the candle wax when it is still super hot. Since this might break the container you are using and the candle might crack due to shrinkage.
So let the candle wax cool down to around 140 degrees Fahrenheit first.
5. Add candle fragrance (optional step)
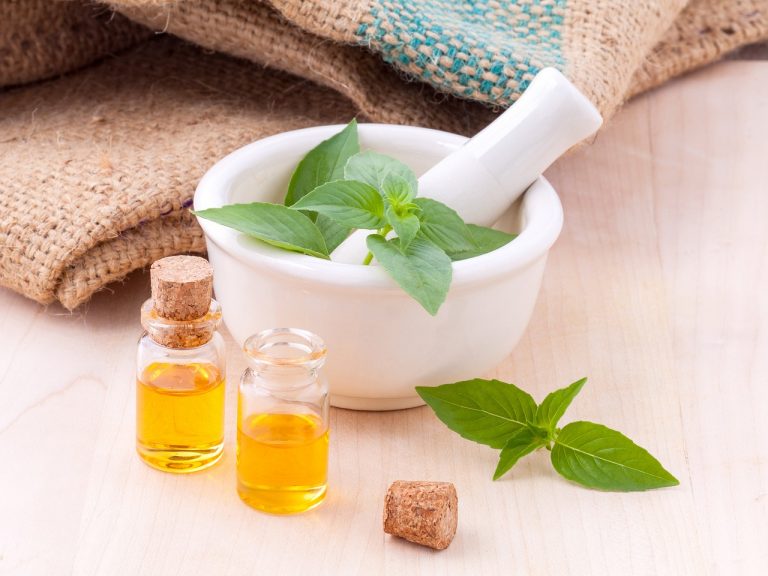
If you want to give you candle a great scent as well, this is the right time to add any of your favorite candle fragrance oils like vanilla, peppermint, or lavender.
I personally always add a few drops of fragrance oils because scented candles make your room smell amazing.
6. Preparing the container
You can get really creative when it comes to containers for your candle. But the good old mason jar never fails to impress.
Take a wick and tie one end around a pencil such that the metal end can still reach the bottom of your container. Make sure that the wick is in the center of your container.
7. Pouring the wax
Now take your molten wax and slowly pour it into your container. Make sure to leave a little bit of space at the top.
If you have leftover wax that didn’t fit on your container, you can always let it dry and melt it again next time you are making candles.
8. Wait
The last step is definitely not the most exciting one. But you do have to give your new candles a little time to cold down completely before you use it.
After a few hours the wax will be completely solid and you can cut the wick from the pencil, leaving around half a centimeter from the surface.
How much dye to use in candles?
The amount of dye you need to add to your wax depends on the type of dye you are using and what shade of color you want to achieve.
For liquid candle dye, you can achieve pretty light shades with a dye concentration as low as 0.005% and pretty dark shades with a concentration of 0.1%. (However, make sure you don’t add more than 20 ml of liquid dye per kilo of wax, or else the dye can clog up the wick.)
For dye blocks & chips, you should add about one dye chip per 500 gram of wax or one 5 cm by 3 cm dye block per 3 kg of wax to obtain a medium shade.
Finally, if you are using dye flakes you want roughly 0.1 wt% of dye flakes to get light shades or 0.25 wt% to obtain dark shades. So if your wax weighs 1 kg, you want to add 1 gram of dye flakes.