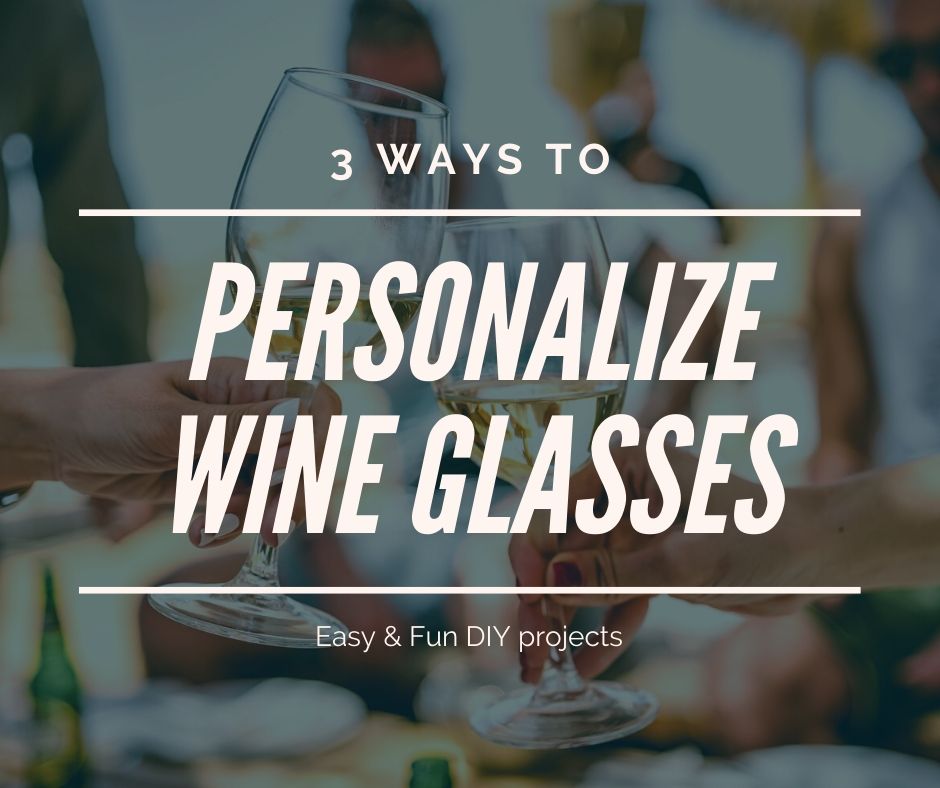
3 Ways to Make DIY Personalized Wine Glasses
Personalized wine glasses are great for special events like a wedding or as a gift for a friend.
Of course, you can pay someone on Etsy to make them for you. But since it’s so easy, cheap, and fun to make them, why not do it yourself?
In this post, you’ll learn three ways to make personalized wine glasses at home.
1. Wine glass etching
If you want to make decorated glasses that are dishwasher and microwave safe, then etching is a great option.
Although etched wine glasses look super fancy and are sold for more than $10,- per glass on Etsy, it really doesn’t cost much to make them yourself.
You can apply the etching cream directly to the glass with a brush if you are confident in your brush strokes. But normally it’s easier to use a vinyl stencil.
You can buy these stencils only, but finding exactly what you want isn’t always possible. In that case you can make them yourself with a vinyl cutter.
Note that etching cream is acidic so you want to use protective gloves and eyewear
You’ll need:
- Wine glasses
- Glass etching cream
- Premium vinyl
- Vinyl cutter
- Protective gloves/eyewear
- Transfer tape
- Brush
- Rubbing alcohol
Directions:
- Find a design that you like. You can either search the internet or make one yourself using special art software.
- Cut the stencil. You can use either a Silhouette vinyl cutter or a Cricut vinyl cutter. Premium vinyl works the best for glass etching.
- Weed the pieces of vinyl that you don’t need.
- Clean the glass with rubbing alcohol.
- Use transfer tape to apply your vinyl stencil to the glass.
- Use a scraper to make sure the vinyl sticks to the glass.
- Apply the etching cream on your template with a brush.
- Wait at least 3 minutes.
- Rinse off the etching cream with water.
- Remove the vinyl from the glass.
If you followed all the steps successfully you now have some amazing etched glasses.
It always surprises me how etching a cheap wine glass can make it look way more expensive even though it’s so simple.
Keep in mind that applying the vinyl stencil to the curved glass surface can be quite tricky. So it’s best not to make your design too big or too complicated.
2. Vinyl on wine glasses
Instead of using vinyl as a stencil, you can also apply a vinyl decal directly to your wine glass.
This way you don’t have to do any etching. However, most types of vinyl on glass won’t be dishwasher safe (unless you seal your vinyl with epoxy), so you will have to wash these glasses by hand.
Of course, you can buy vinyl decals online if they have exactly what you want. But let’s see how to make vinyl wine glasses at home from scratch.
You’ll need:
- Wine glasses
- Permanent vinyl
- Vinyl cutter
- Rubbing alcohol
- Transfer tape
Directions:
- Find or come up with a nice design.
- Import or reproduce your design into the vinyl cutter software
- Cut the stencil. You can use either a Silhouette vinyl cutter or a Cricut vinyl cutter. Permanent vinyl works the best for vinyl glasses.
- Weed the excess vinyl from your design
- Clean the glass with rubbing alcohol.
- Use transfer tape to apply your vinyl stencil to the glass.
- Remove the transfer tape.
If you want to make sure that your design is horizontal, you can fill the glass with some water before you transfer the vinyl. The water will be a horizontal reference.
Also, to prevent air bubbles from forming underneath the transfer tape, you can cut a few slits around your design. This is particularly useful if you have a big design.
Don’t forget that even though you used permanent vinyl, that doesn’t mean that these vinyl wine glasses are 100% dishwasher safe. Maybe they will survive a few times, but the vinyl will quickly come off.
So either wash these glasses by hand, or seal the vinyl with epoxy.
3. Glitter wine glasses
If you like things that shine and sparkle, try making one of these glitter wine glasses.
I remember seeing them in the store for the first time and I thought they would be difficult to make at home.
But guess what?!
Turns out it’s really not that difficult as long as you have the right supplies. Let’s see how.
You’ll need:
Directions:
- Indicate your design on the glass using tape, a marker, or stencil.
- Apply the mud podge on the glass with a brush.
- Sprinkle on the glitter.
- Let the glasses dry for at least an hour.
- Apply a second layer of mud podge and glitter.
- Apply a final layer of epoxy.
- Let the epoxy dry over night.
See?! Not that difficult right?
If you want to bring your glitter glasses to the next step you can either use a vinyl stencil (see the etched wine glasses) to make intricate patterns with glitter or apply glitter to one half of the glass and apply permanent vinyl to the remaining half (see vinyl wine glasses).
I hope you’ll try out one, two, or all three of these methods to make personalized wine glasses. It is an easy and fun way to make gifts for friends, family, or yourself.
![Best Stained Glass Kits For Beginner [Buyer’s Guide]](/wp-content/uploads/2020/09/stained-glass-started-kits-768x644.jpg)

![Free Fonts For Silhouette Studio [Download & Install Guide]](/wp-content/uploads/2022/04/free-fonts-for-silhouette-studio-768x480.jpg)
